

If you're looking to add a rustic touch to your home and save space, installing a barn door is a great option. However, for many people, the idea of installing a door can be intimidating. Fear not! With this step-by-step guide, I'll walk you through the process of installing a barn door with ease. Introduction to Barn Door Installation
Tools and Materials Needed for Barn Door Installation
Before starting the installation process, gather all the necessary tools and materials. You'll need a drill, screws, a level, measuring tape, a saw, and a wrench. Additionally, you'll need the barn door kit, which should include the track, hangers, and mounting hardware.

Measuring and Preparing the Space for Installation
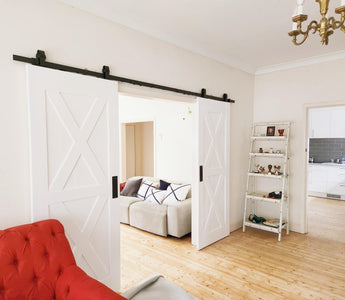
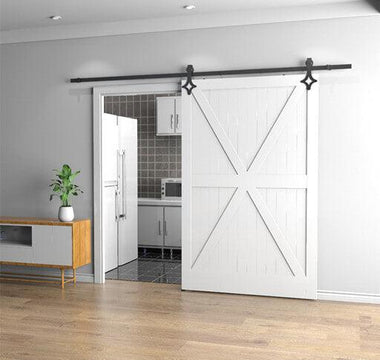
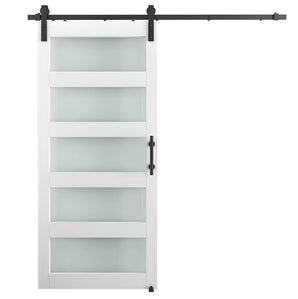
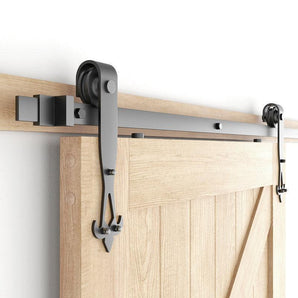
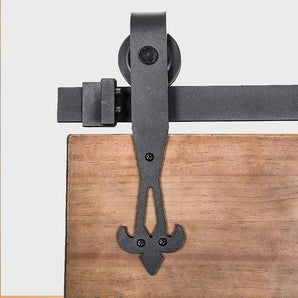
Start by measuring the width and height of the doorway to determine the size of the door needed. Before installing the track, ensure that there is enough clearance above the doorway for the door to slide smoothly. Generally speaking, there needs to be a space of 150mm from the door top to the roof. Of course, this also depends on what kind of wheels you use. Below are some wheel styles listed on the barn door outlet website

If there isn't enough clearance, you may need to install a header board above the doorway.
Next, install the track according to the manufacturer's instructions. Make sure the track is level and securely mounted to the wall.
Installing the Barn Door Track
The first step in installing the barn door track is to measure and mark the location of the track on the wall. Use a level to ensure that the track is straight and mark the location of the mounting holes.
Next, drill pilot holes into the wall at the marked locations. Attach the track to the wall using screws and a wrench to secure it in place.
For the plasterboard wall, you will need to add some structural support. Follow these steps to add support to the wall.
Step A: Put a Supporting Board Before Install Barn Door
When installing on plaster, a wood board must first be fastened to the studs behind the plaster wall before mounting the track. The length and width of the supporting board should be at least equal to the ones on the track.
- Find the centre line position of the track by adding 43mm to the door height and measuring up from the floor. Mark with a pencil.

- On a flat surface, centre the track on the supporting board (insure the track is straight on the board). Mark locations of track mounting holes onto the board.

- Use the stud finder to find the studs behind the plaster. Mark locations.
- Position the supporting board on the wall ensuring it is level. Attach through plaster into studs using screws (2 per stud location). Ensure the centre line of the board is at the line drawn in step (1).

- Position screws so they do not interfere with track mounting holes.
Step B: Install Barn Door Track on Supporting Board
- Drill “6mm” pilot holes for track mounting lag bolts into the board at marked locations

- Attach track to mounting board with lag bolts with spacers and washers.

Mounting the Barn Door Hangers
Once the track is installed, mount the hangers on the door itself. Measure and mark the location of the hangers on the top of the door, ensuring that they are evenly spaced.
Drill pilot holes into the top of the door at the marked locations. Attach the hangers to the door using screws and a wrench.
Installing the Barn Door
With the track and hangers in place, it's time to hang the door. Lift the door onto the track and slide it back and forth to ensure that it glides smoothly. This step is very simple compared to installing the track, just follow the instructions of the barn door track manufacturer to install it.

Adjusting the Barn Door for Proper Alignment
If the door isn't sliding smoothly, adjustments may need to be made. Use a wrench to adjust the hangers on the door so that it hangs evenly on the track.
Additionally, ensure that the door is level by using a level to check both the top and bottom of the door. If the door is uneven, adjust the hangers accordingly.

Barn Door Installation Troubleshooting Tips
If you're facing issues during the installation process, don't panic! Here are some troubleshooting tips to help you overcome common problems:
- If the door isn't sliding smoothly, check that the track is level and that the hangers are evenly spaced.
- If the door is sticking, ensure that the hangers are securely attached to the door and that the door is level.
- If the door is making noise, check that the hangers are securely attached to the door and that the track is level.
Additional Tips for a Successful Barn Door Installation
Here are some additional tips to help ensure that your barn door installation is a success:
- Make sure that the door is the correct size for the doorway.
- Check the clearance above the doorway before installing the track.
- Use a level to ensure that the track and door are level.
- Ensure that the hangers are evenly spaced on the door.
- Test the door's movement before finishing the installation.

Conclusion: Enjoy Your New Barn Door!
With this step-by-step guide, you should have all the knowledge and tools necessary to install a barn door with ease. Remember to take your time, measure carefully, and follow the manufacturer's instructions. With a little patience and effort, you'll have a beautiful and functional barn door that adds a touch of rustic charm to your home. Enjoy!
